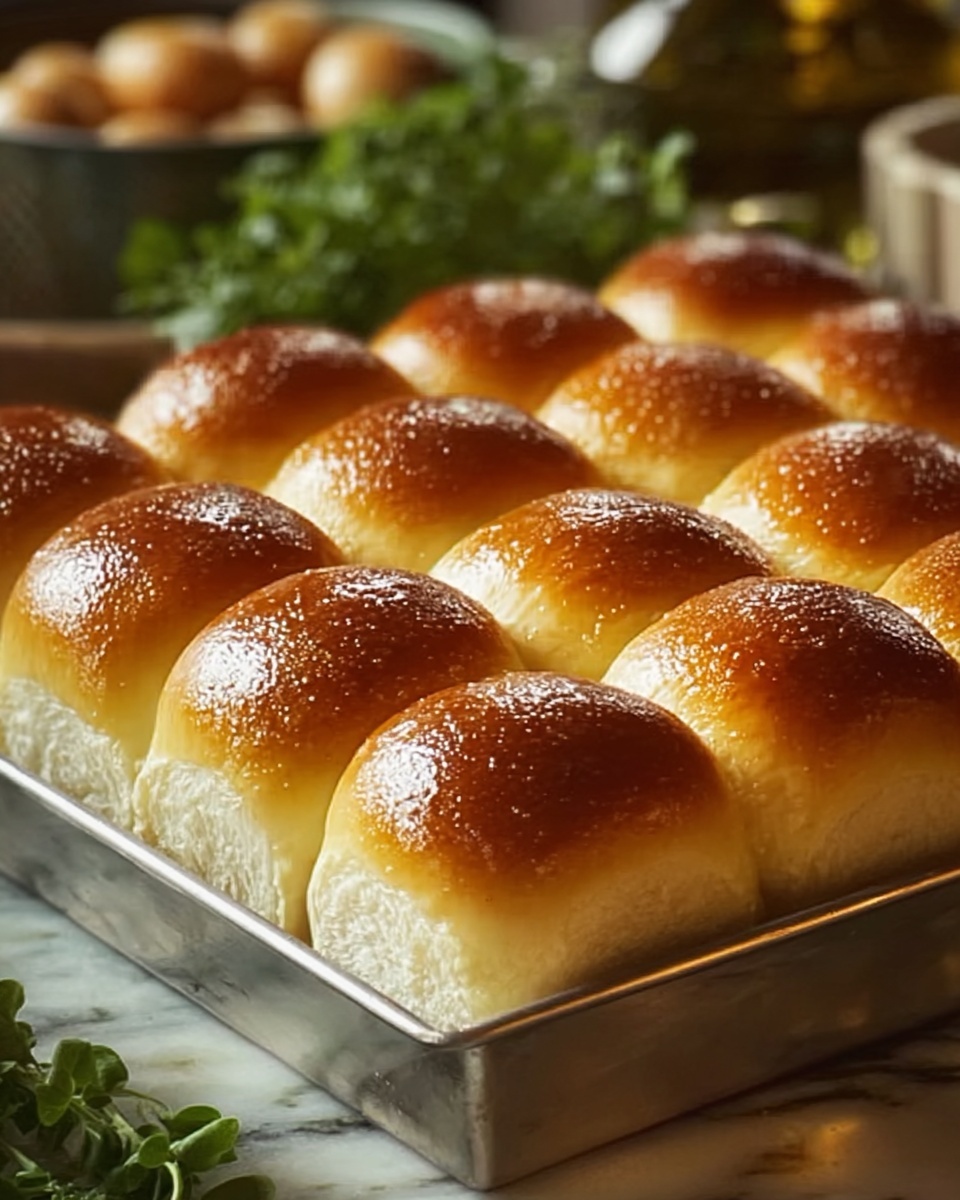
If you’re looking for a bread experience that’s soft, airy, and downright irresistible, this Big, Fluffy Yeast Rolls Recipe is your new best friend in the kitchen. These rolls boast a tender crumb and a golden crust that practically melts in your mouth, making them perfect for everything from holiday feasts to cozy weeknight dinners. It’s the kind of recipe that fills your home with the smell of fresh baking and guarantees smiles around the table—trust me, once you try these rolls, you’ll want to make them again and again.
Ingredients You’ll Need
This recipe calls for a handful of straightforward, pantry-friendly ingredients that each play an essential role in crafting the perfect texture and flavor. From the warm milk that wakes up the yeast to the melted butter that adds richness, every element works in harmony to give you those big, fluffy rolls you crave.
- All-purpose flour: The foundation for tender, fluffy rolls with a light crumb.
- Active dry yeast: This natural leavening agent creates the airy rise and soft texture.
- Warm milk (110°F/43°C): Activates the yeast gently without killing it, ensuring perfect fermentation.
- Granulated sugar: Feeds the yeast and adds a subtle sweetness that balances the buttery richness.
- Unsalted butter, melted: Enriches the dough, adding softness and flavor.
- Large egg: Gives structure and a tender crumb to the rolls.
- Salt: Enhances flavor and balances the sweetness perfectly.
- Melted butter (for brushing): Adds that irresistible glossy finish and an extra layer of buttery goodness.
How to Make Big, Fluffy Yeast Rolls Recipe
Step 1: Activate the Yeast
Start by dissolving the active dry yeast in warm milk with a tablespoon of sugar. Let this mixture sit for 5 to 10 minutes until it’s frothy and alive. This frothy layer is your first sign that the yeast is happily fermenting, which will help your dough rise beautifully and contribute to the fluffy texture you’re aiming for.
Step 2: Mix the Dough
In a large bowl, combine your flour, remaining sugar, and salt for a well-balanced dough base. Slowly add the frothy yeast mixture, the melted butter, and the egg. Stir everything together until the dough begins to pull into a shaggy ball. This rough dough is the starting point of that soft roll magic.
Step 3: Knead the Dough
Move the dough to a lightly floured surface and knead by hand for 8 to 10 minutes, or use a stand mixer with a dough hook for 5 to 7 minutes on medium speed. The goal here is to develop gluten, which gives the rolls their chewy yet tender bite. If the dough feels sticky, sprinkle in a little flour, one tablespoon at a time, until it’s smooth and manageable.
Step 4: Let the Dough Rise
Place your dough ball into a lightly greased bowl, cover it with a clean kitchen towel or plastic wrap, and set it somewhere warm and draft-free. Let it rise for around 1 to 1.5 hours until it has doubled in size. This first rise builds the structure that makes the rolls so fluffy and light.
Step 5: Shape the Rolls
After the dough has doubled, punch it down gently to release built-up air bubbles. Divide the dough into 12 to 15 equal portions and shape each piece into a smooth ball by pinching the seams underneath. Arrange these dough balls on a greased or parchment-lined baking sheet, making sure to space them out enough to rise without sticking together.
Step 6: Second Rise
Cover your shaped rolls loosely with a kitchen towel and let them rise again for 30 to 45 minutes. During this second rise, they should puff up noticeably, becoming soft and nearly doubled in size once more. This step is crucial for achieving that signature big, fluffy appearance and delicious lightness.
Step 7: Bake the Rolls
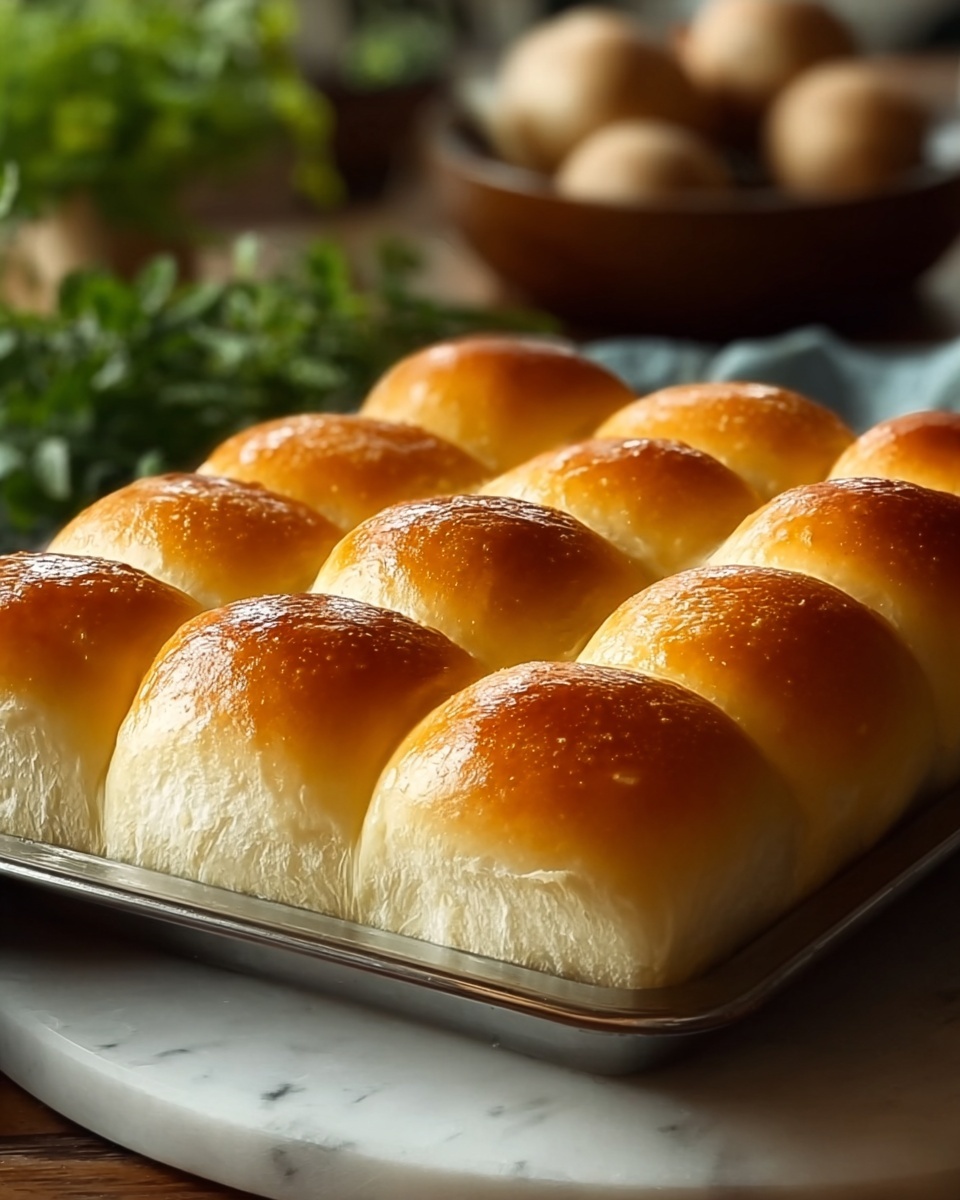
Preheat your oven to 375°F (190°C) and bake the rolls for 15 to 18 minutes. You’re looking for a beautiful golden brown top that promises a perfect crust while keeping the inside tender and pillowy.
Step 8: Brush with Butter
Right after the rolls come out of the oven, brush each one with melted butter. This finishing touch gives the rolls a gorgeous glossy shine and adds a burst of buttery flavor that makes them truly irresistible. Let the rolls cool just slightly before serving so you can savor every soft, warm bite.
How to Serve Big, Fluffy Yeast Rolls Recipe
Garnishes
To elevate these rolls, consider sprinkling some flaky sea salt right after brushing them with butter for a little extra dimension. Fresh herbs like chopped rosemary or thyme can also be sprinkled on top for a savory touch that pairs beautifully with the subtle sweetness of the dough.
Side Dishes
These yeast rolls are the ultimate companion to hearty soups, roasted meats, or festive holiday dinners. Think butter-glazed turkey, creamy mashed potatoes, or a vibrant vegetable medley—each bite of these rolls soaks up sauces and gravies like a dream.
Creative Ways to Present
For a fun family brunch, slice the rolls in half and turn them into mini slider sandwiches filled with ham, cheese, or scrambled eggs. Or line a basket with a colorful cloth napkin and stack the warm rolls invitingly for a rustic, homey touch everyone will love.
Make Ahead and Storage
Storing Leftovers
Your leftover rolls will stay soft and flavorful when kept in an airtight container at room temperature for up to two days. Avoid refrigerating them as it might dry them out faster than you’d like.
Freezing
To save these rolls for longer, freeze them once completely cooled. Wrap them tightly in plastic wrap first, then store in a freezer-safe bag for up to three months. Thaw at room temperature or overnight in the fridge before reheating.
Reheating
Warm your leftover rolls by wrapping them in foil and placing in a 300°F oven for about 10 minutes, or pop them in the microwave for 15 to 20 seconds wrapped in a damp paper towel to revive that soft, fluffy texture.
FAQs
Can I use instant yeast instead of active dry yeast?
Absolutely! If you use instant yeast, you can mix it directly with the dry ingredients without activating it in warm milk first. Just reduce the liquid slightly and proceed with kneading as usual.
What if my dough doesn’t rise?
Make sure your milk is warm but not hot—it should feel like a warm bath. Hot liquid can kill the yeast, preventing rising. Also, check your yeast’s expiration date; fresh yeast is key for a successful rise.
Can I make these rolls whole wheat?
You can substitute up to half the all-purpose flour with whole wheat flour for a nuttier flavor and heartier texture. Just be aware the rolls might not be quite as soft and fluffy but still delicious.
Is it okay to over-knead the dough?
Kneading too long can make the dough tough because it develops more gluten than needed. Stick to the recommended time and check that the dough is smooth and elastic but still soft to the touch.
How do I keep my rolls soft for longer?
Brushing the rolls with butter right after baking helps retain moisture. Also, storing them in an airtight container or plastic bag quickly after cooling preserves softness for a couple of days.
Final Thoughts
There’s nothing quite like pulling a batch of warm, golden rolls from the oven—soft, fluffy, and full of buttery goodness. This Big, Fluffy Yeast Rolls Recipe is a reliable classic baked right in your own kitchen, perfect for every occasion or just to brighten a simple meal. Give it a try and watch everyone’s faces light up with every delicious bite!
Print
Big, Fluffy Yeast Rolls Recipe
- Prep Time: 20 minutes
- Cook Time: 18 minutes
- Total Time: 2 hours 10 minutes
- Yield: 12-15 rolls
- Category: Bread
- Method: Baking
- Cuisine: American
Description
These Big, Fluffy Yeast Rolls are soft, golden, and perfectly buttery, ideal for any meal. Made with simple ingredients like all-purpose flour, yeast, milk, and butter, these rolls are easy to prepare and rise twice to achieve the perfect fluffy texture. Enjoy them warm with a brush of melted butter for extra flavor.
Ingredients
Dough Ingredients
- 4 cups all-purpose flour
- 2 ¼ tsp active dry yeast (1 packet)
- 1 cup warm milk (110°F/43°C)
- ¼ cup granulated sugar
- ¼ cup unsalted butter, melted
- 1 large egg
- 1 tsp salt
For Brushing
- 2 tbsp melted butter
Instructions
- Activate the Yeast: In a small bowl, combine the warm milk, yeast, and 1 tablespoon of sugar. Stir gently and let it sit for 5-10 minutes until the mixture becomes frothy, ensuring the yeast is active and ready for dough rising.
- Mix the Dough: In a large mixing bowl, combine the flour, remaining sugar, and salt. Add the frothy yeast mixture, melted butter, and egg to the dry ingredients. Stir until the dough forms a rough ball.
- Knead the Dough: Transfer the dough to a lightly floured surface and knead for 8-10 minutes until smooth and elastic. Alternatively, use a stand mixer with a dough hook on medium speed for 5-7 minutes. Add flour 1 tablespoon at a time if the dough is sticky.
- Let the Dough Rise: Place the dough in a lightly greased bowl and cover with a kitchen towel or plastic wrap. Let it rise in a warm, draft-free spot for 1 to 1.5 hours or until doubled in size.
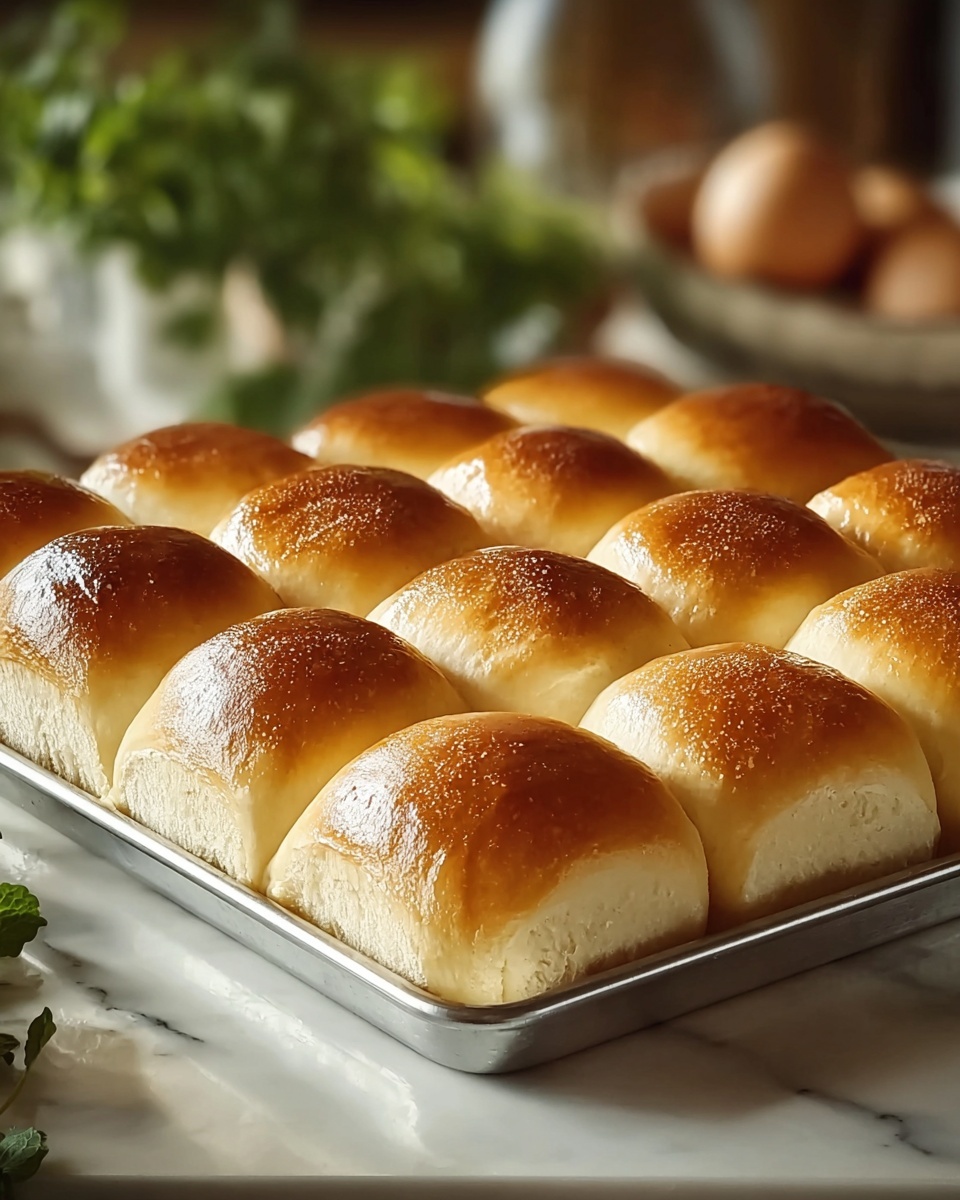
- Shape the Rolls: Punch down the risen dough to release air bubbles. Divide into 12-15 equal portions and shape each into a ball. Arrange on a greased or parchment-lined baking sheet or a greased 9×13-inch baking dish, spacing rolls evenly.
- Second Rise: Cover the rolls loosely with a kitchen towel and allow them to rise again for 30-45 minutes or until puffed and nearly doubled in size.
- Bake the Rolls: Preheat oven to 375°F (190°C). Bake the rolls for 15-18 minutes until golden brown on top.
- Brush with Butter: Remove rolls from the oven and immediately brush with melted butter for a glossy finish and added flavor. Let cool slightly before serving.
Notes
- Use warm milk for yeast activation, around 110°F, to avoid killing the yeast.
- You can substitute all-purpose flour with bread flour for a chewier texture.
- Kneading time is important for gluten development; ensure the dough is elastic but not too dry.
- Letting the dough rise in a warm spot helps ensure good yeast activity and fluffy rolls.
- For softer crust, cover rolls loosely with foil during the last 5 minutes of baking.
- Store leftover rolls in an airtight container at room temperature for up to 2 days or freeze for longer storage.


